How to make a .zip file on Windows PC's
- On Windows 7 machines:
- Start Windows Explorer (if you're not sure how to do this:
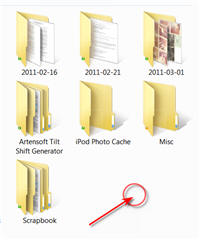
usually, there will be a yellow folder icon on the toolbar on the bottom
of your screen:

Click on this icon. If you don't see a yellow folder icon, then
right-click on the Start button and select "Open Windows Explorer":

- Navigate to the folder that contains the files you want to place
into your zip file.
- Move your cursor to an area of empty white space in the Windows
Explorer window so that no file or folder is selected.
- Right-click your mouse. Select New... and then "Compressed
(zipped) folder". A new zip icon or file will appear, depending on how
you are viewing your folder:

NOTE: Even though it calls itself a "folder",
it's really a single compressed FILE that you can upload or download,
etc. as if it were a single file.
- At the time you create the new zip folder, the folder name will be
highlighted. You can enter a new name for the folder at this time,
or do so later.
- To add files (or even complete folders) to the new zipped folder,
simply drag it into the zip file. Repeat this process for each
file/folder that you want to include in the zip folder.
- If you've not already done so, rename the zip folder to something
that makes sense to you (but don't change the .zip extension!).
- On (older) Windows XP machines:
- Start Windows Explorer (right-click the Start button, then choose
Explore):

- Follow steps 2-7 above.